In my 20 months of DSLR photography there have been a number of occasions where I would have preferred a different lens with different focal lengths. I realised I could have done with a wide angle lens more often than any other type and the reasons behind this "need" varied. The first occurrence would come when I wanted to over dramatise the subject of the photo. For example I would have a great subject in the foreground that I would really like to emphasise, but with just a 18-55mm lens it was very tough to do so. The second reason for a wide angle lens was when I wanted to fit more of the scene into the photo and there was no room for me to simply take the necessary steps back.
A macro lens would be the next on my "to buy list". There isn't so much of a need for one of these unless you specialise in that field however macro lenses can really take you into a new world. I mean, who wouldn't think that capturing images with a camera that can not be seen with a naked eye would be cool?!
The third type on this list is a telephoto lens. I have seldom wished I owned a telephoto lens. While they would be useful for certain occasions, I would not be keen on carrying the extra weight around for just the odd moment.
As we know, lenses are expensive pieces of equipment (generally starting at around £200) and so far I haven't taken the step forward and purchased a second lens of any sort. I have, however, recently managed to partly solve my desire for a wide angle and macro lens at the mere price of just £10.
Below is a 0.45X Super Wide Angle Lens with Macro Adapter. Pop the macro section of the lens to the end of your 18-55mm lens and you have the opportunity for some macro photography. Put the macro and wide angle sections together and put these at the end of your kit lens and you'll have a much wider angled lens on your camera. All for a tenner and with hardly any extra weight in your bag.
 |
| This small piece of equipment can be found on Amazon or eBay |
Let's first of all start this off by stating that the adapters do work and, in my opinion, they are worthwhile. Using just the macro section does allow the camera to focus in on much finer detail however it is far from the near microscopic level that a purpose-built macro lens can allow. You won't be able to see the intricate curves and grooves of a piece of pollen with this however you will get a good overall focus of the pollen itself.
The first photo below was taken with the 18-55mm lens with no adapter. This was as close to the keyring that I could focus. The second picture is with the 18-55mm lens but with the macro adapter attached.


The wide angle section of this adapter has been harder for me to get used to. However I am putting this down to my lack of experience in this field of photography and not the quality or usefulness of the adapter. My standard lens does currently go to a relatively wide angle of 18mm and with the adapter attached this pushes it out to (I believe) 8-10mm which is very wide. Unfortunately at this setting vignetting does occur (see the photo below). This is not a massive problem and can easily be edited out in post-production however it is not ideal. A slight hitch like vignetting is possibly inevitable with such a cheap piece of equipment.

The good thing is that vignetting can easily be resolved by simply zooming in a touch. As stated the above photo was captured at 18mm however by zooming into around 20-22mm the vignetting disappears. The benefits of the wide angle adapter still remain at a focal length of 22mm. The adapter probably increases the angle to about 12mm - still far wider than my standard 18mm.
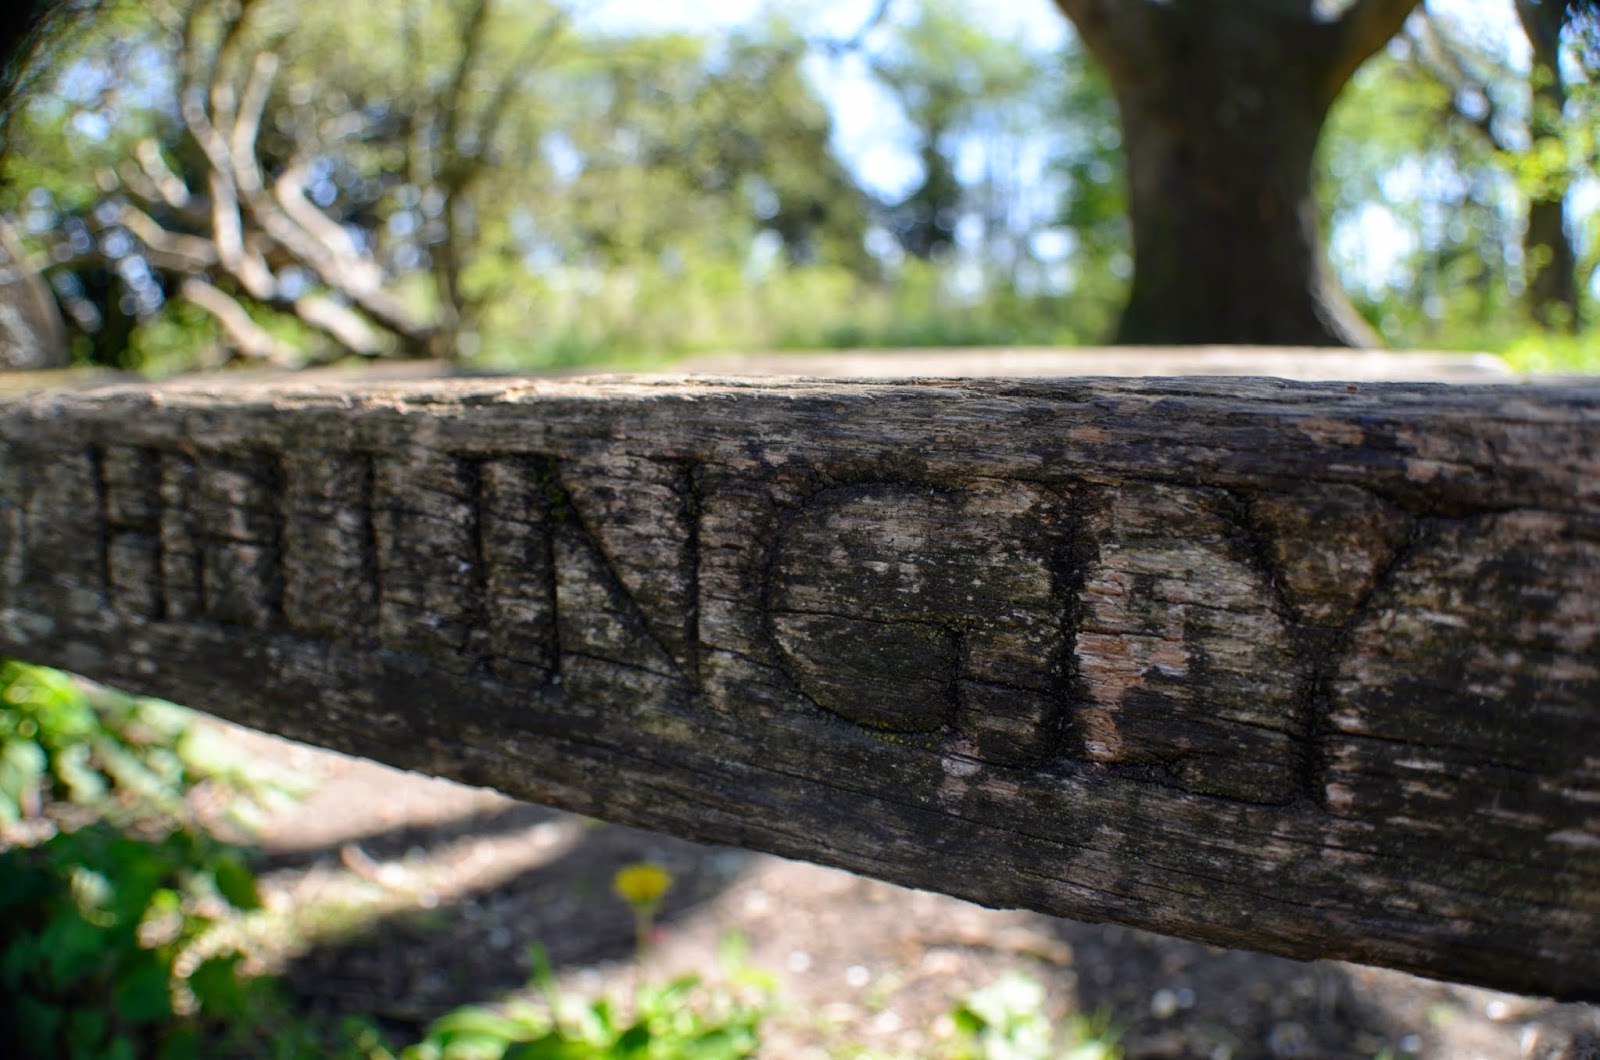
I need some practice with wide angle photography though. The following pictures were all taken using the wide angle adapter and they need a lot of work. Perhaps I need to wait for the opportunity to arise for the need for the wide angle adapter rather than searching out the image myself as I did in the following...


The following photos were taken using the macro adapter.


